Mead was the first fermented beverage ever produced. It’s production dates all the way back to 7000 B.C which predates wine by three thousand years. To make mead is to partake in the oldest of traditions.
While mead is not technically wine, the process of making mead is very similar. And as a winemaker, you can learn a lot from doing it.
Simply put, it involves creating a must that you add yeast to and let it ferment. After fermentation, you rack it, age it, and then bottle it.
Why You Should Make Mead
 The beautiful thing about making mead is that you can make world-class mead with honey from just about anywhere. You don’t have to buy Napa or Bordeaux honey. Find a local producer that sells raw and unfiltered honey, or just go to the grocery store.
Honey is always available so you can make mead any time you like. You don’t have to wait for a harvest nor do you have to use it immediately after getting it like you do with wine grapes. Honey lasts a long time.
To get the most out of your mead making experience skip any kits you might find and source all the equipment and ingredients yourself. It forces you to really think about what you need and how much to use.
Picking the yeast for instance involves doing a bit of research to figure out what yeasts produce what flavor profiles. What temperatures work best for what yeasts. How long can you expect fermentation to take. You’ll need to know the alcohol tolerance of the yeast and how that will work with the amount of honey you put into your must.
You may be thinking “But I’ve never made mead! How will I know what to do?” Good question. You may have to do a bit of research to iron out all the details for your particular mead. Even with the recipe and process I am providing here you may have to adjust it to suit you.
But here’s the good news…mead is very forgiving. There are few mistakes you can make that time will not heal. The main exception being not properly sanitizing your equipment.
My Mead Recipe
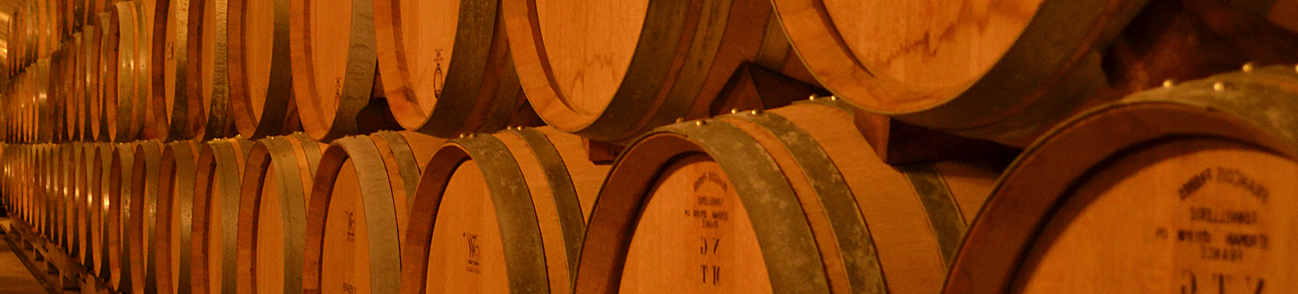
Here’s the recipe I used to make the mead pictured above. It’s a one gallon batch of dry mead. No spices, juices, or fruit added. Just a plain dry mead. A great place to start.
While I’m not a seasoned mead maker I thought I would share what I’ve learned so far including the recipe I used and how I did it. Here we go.
 Ingredients:
- 13-14 cups of water
- 2.5 lbs unfiltered, raw honey
- 1 packet of dry yeast
- 1 teaspoon of yeast nutrients
Equipment:
- 1 gallon glass jug
- long-handled spoon
- drilled plug (#6 for 1 gallon jug)
- three-piece airlock
- plug for long-term aging (#6 for 1 gallon jug)
- large pot for heating water
The Mead Making Process
- As always begin by sanitizing you equipment.
- Heat the water to approximately 190-200 degrees (F). This kills anything funky in your water or your pot and gets rid of the chlorine from city water.
- Remove it from the heat. While your water is cooling re-hydrate your yeast per the instructions on your yeast packet.
- Pour your honey into the one gallon glass jug.
- Once your water has cooled to 80-90 degrees (F) add your water to the jug along with the yeast nutrients and stir well.
- After stirring shake the jug for one to two minutes to mix oxygen into your must. Hint, use your solid plug and not your hand to cap it off.
- Add your hydrated yeast, stir, and affix your airlock.
Nutrients and Water
The yeast nutrients are added because honey does not have an adequate supply of them to sustain yeast through a complete fermentation. It has plenty of sugar but not really any other nutrients. Winemaking grapes on the other hand usually have plenty of nutrients which is why you don’t always need to add more of them.
Tap water is a great choice for making mead as it contains additional minerals required by the yeast. Filtered or de-ionized water will not have these nutrients and can starve your yeast.
Rehydrating Yeast
It is up to you whether or not you re-hydrate your yeast to make mead. If you don’t hydrate the yeast your fermentation will take longer. If you do you’ll have a shorter fermentation and you’ll ensure that the yeast of your choosing dominates the fermentation process.
Be careful not to shock the yeast by adding it to a must that is too hot or too cold. The temperature differential between your hydrated yeast and the must should be within twenty degrees or so.
Follow the directions on your yeast packet for rehydrating. Also, you’ll need to do a little research on how your yeast does with honey as well as what the ideal temperature ranges are.
Boiling The Must
Many recipes call for you to boil (pasteurize) your must to kill off wild yeasts and bacteria. Honey, as it turns out, has natural antibiotic properties. It tends to fight off micro-organisms all by itself. So you don’t really need to do this.
Also, there are a couple of risks associated with boiling your must. First, it tends to destroy the individuality of your honey, making it more like a generic “honey bear” honey. If you paid extra for unfiltered raw honey that just went up in steam.
The other risk is over cooking the honey. Your must can take on caramel or burnt sugar flavors. At this point you’ll be making more of a bochet instead of mead.
I encourage you to make your own mead and see what you learn along the way. You can make just one gallon as I have or go whole hog and do a full five gallon batch. Mead does need a bit of aging so keep that in mind. More on that later.
I’ll be sharing all the lessons I’ve learned that I can apply directly to making wine. I’ve got tons of notes and data to sift through first though.
You didn’t finish… So we don’t boil the must, but then what? Do we rack it when it’s time just like wine? How do we know when it’s done?
You’re quite right, this article doesn’t quite outline the entire process. Take a look at this article http://winemakersacademy.org/make-mead/, it shows the entire process outlined. Sorry for the confusion.